
Building a loft bed involves careful planning, selecting sturdy materials, and precise construction. Start by designing the frame, ensuring it fits your space. Assemble the legs and support beams, then attach the mattress base. Add guardrails for safety and secure the bed to the wall to prevent tipping. Use high-quality lumber like 2x6s for stability and consider adding a ladder or storage underneath. Always follow safety guidelines and double-check all connections for durability.
Safety Considerations
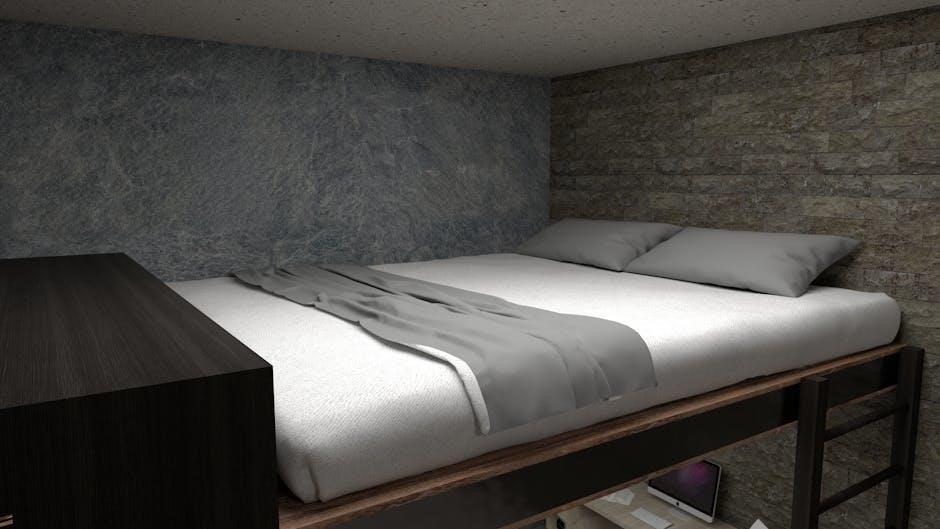
Safety is paramount when building and using a loft bed. Ensure the bed is designed for the intended weight capacity, especially if it will be used by children; Guardrails are essential to prevent falls, and they should be installed along all open sides of the bed. The mattress surface must be at least 5 inches below the top of the guardrails to meet safety standards. Avoid placing the bed near windows or fragile objects to minimize accident risks. Secure the bed frame to the wall using brackets or screws to prevent tipping, especially if it’s free-standing. Use sturdy, high-quality lumber to ensure the structure remains stable. Never allow children under 6 years old to use the upper bunk without adult supervision. Regularly inspect the bed for any damage or wear and tear, addressing issues promptly to maintain safety. Always follow safety guidelines and manufacturer instructions for any materials or accessories used in the construction.

Choosing the Right Lumber
Selecting the right lumber is crucial for building a sturdy and safe loft bed. Opt for high-quality, straight-grain wood to ensure stability and durability. For the frame, use 2×6 or 2×8 lumber, as these are strong enough to support the weight of the mattress and occupants. Legs and support beams can be made from 2×4 lumber, which provides excellent structural integrity. Consider using pressure-treated wood if the bed will be placed in a humid or outdoor environment. For guardrails and side panels, 1×4 or 1×6 lumber works well, as it is lightweight yet durable. Always inspect the lumber for cracks, knots, or warping before cutting. Sand all surfaces to ensure smooth edges and prevent splinters. If using scrap lumber, verify its condition and strength to guarantee safety. Properly measure and cut the wood according to your design plan to minimize waste and ensure a precise fit. Using the right materials will help create a sturdy and long-lasting loft bed.
Design and Planning

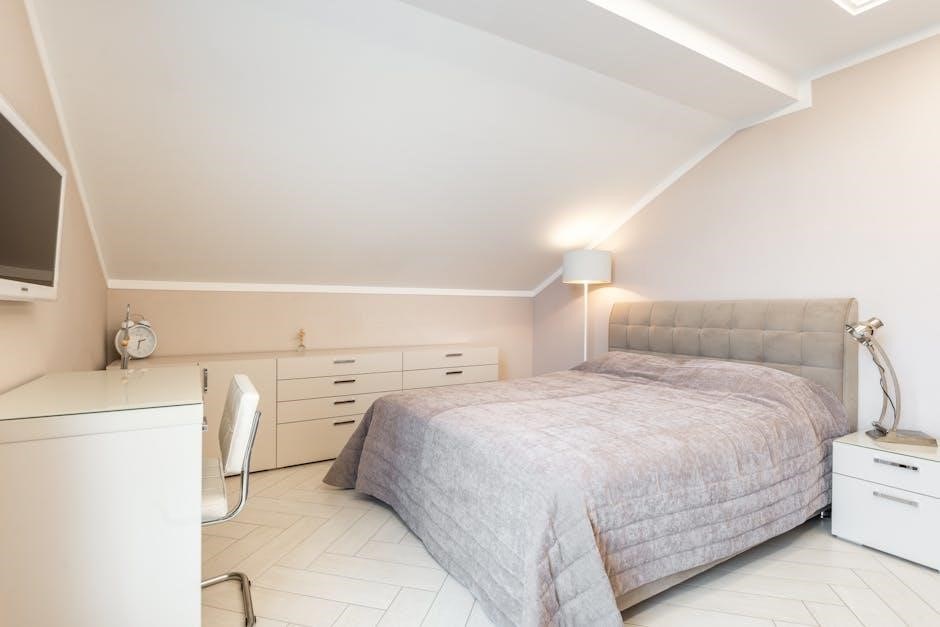
Designing and planning your loft bed is essential to ensure it fits your space and meets your needs. Start by measuring the room to determine the ideal size and height for the bed. Consider the mattress size, whether it’s twin, full, or custom, and leave enough clearance for comfortable movement underneath. Sketch your design, including the frame, ladder, and guardrails. Decide on the style, such as modern, rustic, or playful, to match your decor. Plan for additional features like built-in storage, a desk, or a play area underneath. Create a detailed list of materials and tools needed. Ensure the design is sturdy and safe, with proper weight distribution and support beams. If you’re unsure, use pre-made plans or adjust existing ones to suit your preferences. Finalize your plan before starting construction to avoid costly mistakes. Proper planning will result in a functional and aesthetically pleasing loft bed that maximizes space and comfort.
Step-by-Step Assembly
Begin by gathering all your tools and materials, such as drills, screws, and lumber. Start by cutting the lumber according to your design measurements. Assemble the frame by attaching the side rails and support beams to the legs. Use screws to secure these connections tightly. Next, construct the ladder by cutting and assembling the rungs and sideposts. Attach the ladder to the bed frame, ensuring it is sturdy and evenly spaced. Install guardrails around the bed to prevent falls, making sure they are at least 5 inches above the mattress. Secure the bed to the wall using brackets or screws to prevent tipping. Finally, add any finishing touches, such as sanding or painting. Double-check all connections for stability and ensure the bed meets safety standards. Allow the paint to dry before placing the mattress. Test the bed by applying weight gradually to ensure it is sturdy and secure. Once complete, your loft bed is ready for use, providing a safe and functional space-saving solution.
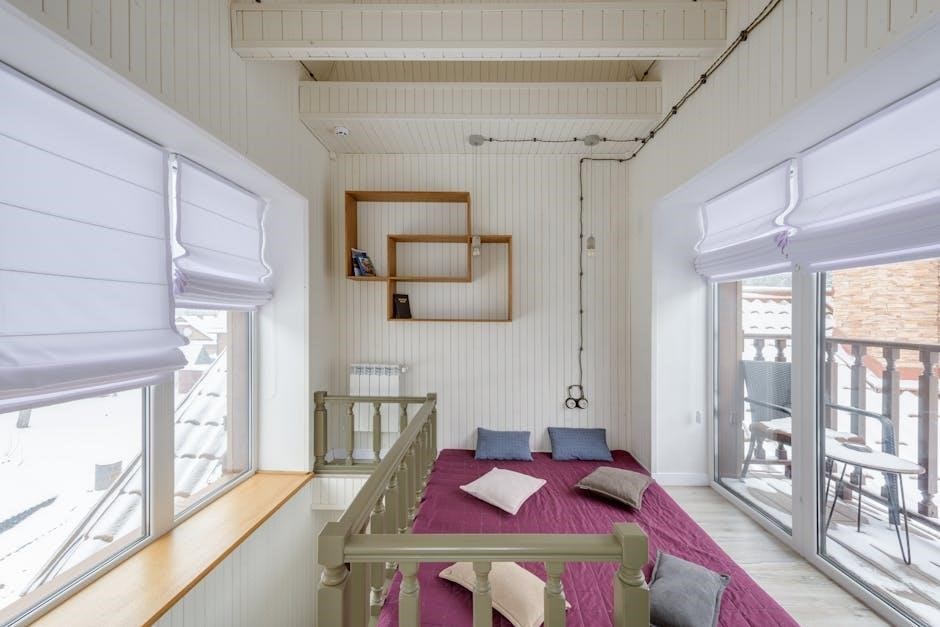
Adding Guardrails and Support
Guardrails are essential for safety, especially in loft beds. Ensure they are at least 5 inches above the mattress surface and run the full length of the bed. Attach them securely using screws or brackets, making sure they are sturdy enough to prevent falls. For added support, install vertical beams or slats between the guardrails and the bed frame to distribute weight evenly. If placing the bed near a wall, position the guardrail along the open side for maximum protection. Use high-quality materials like wood or metal for durability. Additionally, consider adding support beams underneath the mattress platform to enhance stability. Ensure all connections are tightened properly and double-check the guardrails for any gaps or weak points. Customization options, such as storage drawers or shelves, can be incorporated into the guardrail design for functionality. Always follow safety guidelines to ensure the bed remains secure and stable for years of use.
Securing the Bed to the Wall
Securing your loft bed to the wall is a critical step for safety and stability. Start by locating wall studs to ensure a sturdy anchor point. Use heavy-duty brackets or screws to attach the bed frame to the wall. Position the brackets at the top of the bed posts, ensuring they are level and tightly fastened. For added stability, anchor the bed frame to the floor using screws or brackets, especially if the bed is free-standing. This prevents the bed from shifting or tipping over. If the bed has support posts, screw them into the floor for extra rigidity. Always follow the manufacturer’s instructions for any hardware used. Double-check all connections to ensure they are secure. Regularly inspect the anchors and tighten them if necessary. By properly securing the bed, you minimize risks and ensure a safe sleeping environment. This step is particularly important for beds in areas prone to movement or for households with children.
Customization Ideas

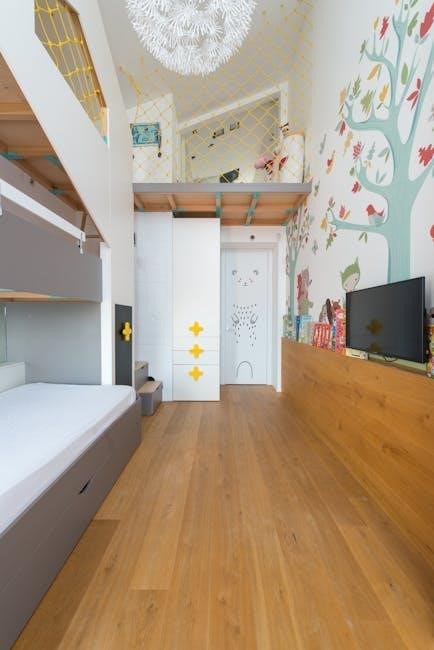
Customizing your loft bed allows you to tailor it to your needs and personal style. One popular idea is to incorporate storage solutions, such as drawers or shelves beneath the bed. You can also add a desk or workspace underneath, creating a functional study area. For kids, consider adding themed elements like a playhouse design or a built-in play table. Stairs instead of a ladder provide easier access and can be designed to match the bed’s aesthetic. Another idea is to install lighting, such as LED strips or reading lights, for ambiance and convenience. You can paint or stain the wood to match your room’s decor, ensuring the bed blends seamlessly with its surroundings. Additionally, consider adding guardrails with decorative trim or metal accents for a modern look. If you’re building for a child, themed bed designs, such as a castle or treehouse, can make the loft bed a fun focal point. These customization options allow you to create a unique and functional piece of furniture that enhances your space.
Final Touches
Once the loft bed is assembled and secured, it’s time for the final touches. Inspect the entire structure for any gaps or loose connections and tighten screws or bolts as needed. Sand any rough edges or splinters to ensure smooth surfaces. If desired, paint or stain the wood to match your room’s decor, allowing it to dry completely before use. Install the mattress, ensuring it fits securely within the frame and is at least 5 inches below the guardrails for safety. Add bedding and any decorative elements, such as throw pillows or a bed skirt. Finally, clean the area around the bed and ensure the floor is clear of tools or debris. Double-check that the bed is stable and all safety features, like guardrails and wall anchors, are properly secured. These final steps will complete your loft bed project, making it safe, functional, and ready for use.
Maintenance Tips
Regular maintenance is crucial to ensure the longevity and safety of your loft bed. Start by inspecting the bed monthly for any signs of wear or instability. Tighten loose screws or bolts, and replace any damaged hardware immediately. Dust and vacuum the frame and surrounding areas to prevent dirt buildup. For wooden loft beds, apply a wood conditioner or sealant annually to protect the material from moisture and scratches.
- Check the guardrails and support beams for stability and integrity.
- Clean the mattress regularly and rotate it every 3-6 months for even wear.
- Inspect the ladder or stairs for any damage or loose steps and repair them promptly.
- Ensure the bed remains securely anchored to the wall to prevent tipping.
By following these maintenance tips, you can keep your loft bed safe, functional, and looking its best for years to come.

Building a loft bed is a rewarding DIY project that offers both functionality and style. By following the steps outlined in this guide, you can create a sturdy, space-saving bed that meets your specific needs. Whether you’re maximizing room space for a child or creating a cozy retreat for yourself, a well-crafted loft bed enhances any room’s layout and aesthetic.
Remember, the key to success lies in careful planning, precise measurements, and attention to detail. Don’t hesitate to personalize your design with unique features like built-in storage, a desk, or decorative elements. With patience and creativity, you’ll enjoy the benefits of your new loft bed for years to come.
For additional guidance, explore the wealth of online resources, tutorials, and plans available to help you bring your vision to life. Happy building!
No Responses