The GE Self-Cleaning Electric Oven offers a convenient and efficient way to maintain your appliance. Using a high-heat cleaning cycle, it turns food residue into ash, eliminating the need for harsh chemicals. This innovative feature saves time and effort, making oven maintenance simpler and faster than traditional cleaning methods. It’s a popular choice for homeowners seeking a hassle-free solution to keep their oven in pristine condition.
Understanding the Self-Cleaning Feature
The self-cleaning feature of a GE electric oven utilizes high heat to decompose food residue into ash, eliminating the need for harsh chemicals. During the cycle, the oven reaches temperatures up to 880°F (471°C), effectively breaking down tough stains and grime. This process is both efficient and time-saving, as it requires minimal effort from the user. The oven is designed with fiberglass insulation, which contains the high heat and ensures safety. However, it’s important to note that this insulation may release small amounts of carbon monoxide during the cycle, necessitating proper ventilation. The feature is a convenient solution for maintaining a clean oven without manual scrubbing, making it a popular choice for homeowners seeking a low-maintenance appliance.
Operating the Self-Cleaning Oven
Operating the GE self-cleaning oven involves initiating a high-heat cycle that reaches up to 880°F (471°C) to decompose food residue into ash. The cycle typically lasts 3-4 hours, depending on the model. Before starting, ensure the oven is empty, racks are removed, and the exterior is wiped clean. The door locks automatically during the cycle to prevent accidental opening. Proper ventilation is essential, as the process may release small amounts of carbon monoxide. Once the cycle completes, allow the oven to cool before wiping away ash with a damp cloth. Always follow the manufacturer’s instructions for optimal performance and safety.
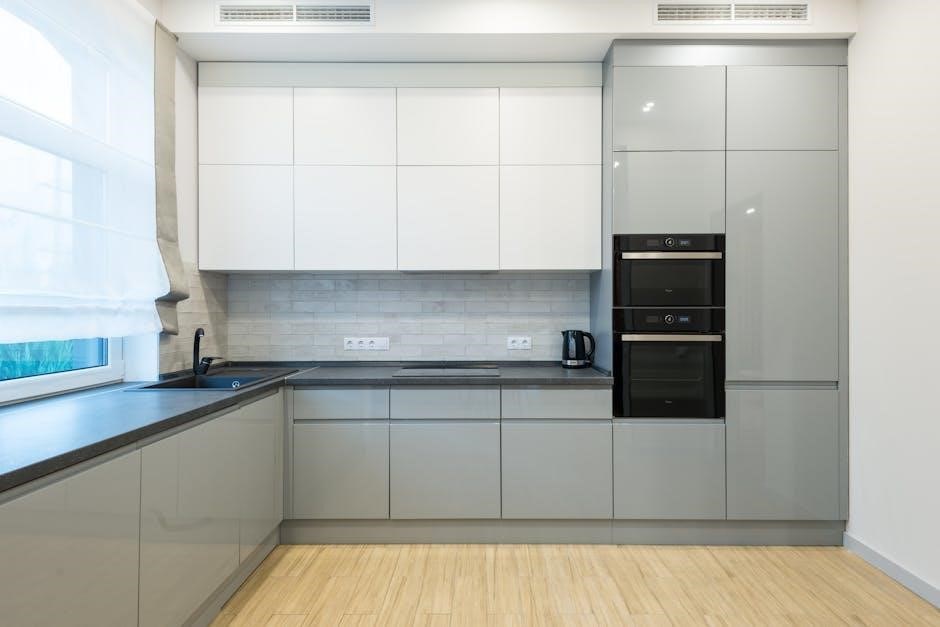
Preparing the Kitchen for the Cleaning Cycle
Before initiating the self-cleaning cycle, ensure your kitchen is well-prepared to handle the process safely and effectively. Open windows and turn on exhaust fans to provide proper ventilation, as the high heat may release fumes and a small amount of carbon monoxide. Clear the area around the oven to prevent any obstructions and ensure pets or children stay away. Remove all racks, utensils, and food debris from the oven to avoid damage or interference. Wipe down the oven exterior to prevent grime from spreading during the cycle. If desired, clean the door and front panel beforehand for a polished look post-cleaning. Ensure the oven is completely empty, as any items left inside may be damaged. By taking these steps, you create a safe and efficient environment for the self-cleaning process to succeed.
Steps to Initiate the Self-Cleaning Cycle
To start the self-cleaning cycle on your GE electric oven, first ensure the oven is empty of racks, utensils, and food debris. Close the oven door securely and locate the cleaning option on the control panel. Press and hold the button labeled “Clean” or navigate through the options to select “Self-Clean.” Depending on your model, you may need to press a combination of buttons or use the touchscreen interface. Once selected, confirm your choice by pressing “Start” or “OK.” Some models may require pressing and holding a latch release button while sliding it into the clean position. The oven will automatically lock the door and begin the high-heat cleaning process. Follow any additional on-screen instructions provided by the oven’s interface. Always refer to your specific model’s manual for precise steps, as minor variations may exist.
Duration and Temperature of the Cleaning Cycle
The self-cleaning cycle on a GE electric oven typically lasts between 3 to 4 hours, depending on the model and the level of soil inside the oven. During this process, the oven heats to an extremely high temperature, often reaching up to 880°F (471°C), to effectively decompose food residue into ash. Once the cycle is initiated, the oven door automatically locks to ensure safety and maintain internal heat. After the cycle completes, the oven will gradually cool down, which can take 30 to 90 minutes. Proper ventilation is recommended to prevent the accumulation of carbon monoxide from the fiberglass insulation. Always refer to your specific oven model’s manual for exact duration and temperature details, as variations may exist. This high-heat process eliminates the need for harsh chemicals, making cleanup straightforward once the cycle is complete.

Safety Considerations
Always follow safety guidelines when using the self-cleaning feature. High temperatures can release carbon monoxide, so ensure proper ventilation. Avoid using harsh chemicals, as they may emit toxic fumes during the cycle. Keep children and pets away from the oven during and after cleaning, as surfaces remain extremely hot. Never leave the kitchen unattended while the cycle is active. Adhere to the manufacturer’s instructions to prevent accidents and ensure safe operation.
VENTILATION DURING THE CLEANING CYCLE
Proper ventilation is crucial during the self-cleaning cycle to minimize exposure to carbon monoxide and fumes. Open windows and ensure good airflow to reduce odors. Some models have fans that circulate air and help cool components. Keep the kitchen well-ventilated throughout the cycle and for a short time after. High heat can release strong smells, so adequate ventilation ensures a safer environment. After the cycle, allow the oven to cool before closing windows, as residual heat may release lingering fumes. Always prioritize ventilation to maintain safety and comfort during and after the cleaning process.
Door Locking Mechanism
The door locking mechanism is a critical safety feature of the GE Self-Cleaning Electric Oven. During the cleaning cycle, the oven door automatically locks to prevent accidental opening while the oven is at extremely high temperatures. This ensures safety by protecting users from potential burns. The locking mechanism engages once the self-cleaning cycle is initiated and remains active until the oven has cooled down sufficiently. Users should not attempt to force the door open during this time, as it could damage the lock or the door itself. The automatic unlock feature activates only after the oven has cooled to a safe temperature, ensuring a secure and injury-free cleaning process. This feature is designed to provide peace of mind while the oven performs its self-cleaning function.
Post-Cycle Safety Precautions
After the self-cleaning cycle completes, it’s essential to exercise caution to ensure safety. Allow the oven to cool down completely, as it may retain high temperatures for several hours. Avoid touching the oven surfaces, including the door and handles, until they have returned to room temperature. When handling ash or residue, wear gloves and use a damp cloth to prevent dust from spreading. Do not immediately wipe the oven with abrasive cleaners, as the surfaces may still be hot. If cleaning is necessary, use a soft cloth and mild soap to avoid damaging the finish. Additionally, ensure the cooling fan, if present, has stopped running before performing any post-cycle tasks. Always prioritize patience and caution to avoid burns or other injuries after the cleaning process.
Maintenance and Care
Regular cleaning and upkeep ensure optimal performance. Wipe the exterior with a damp cloth and mild detergent, avoiding abrasive cleaners. After self-cleaning cycles, let the oven cool, then remove ash with a damp cloth. Avoid harsh chemicals to preserve the finish and functionality of your GE self-cleaning electric oven.
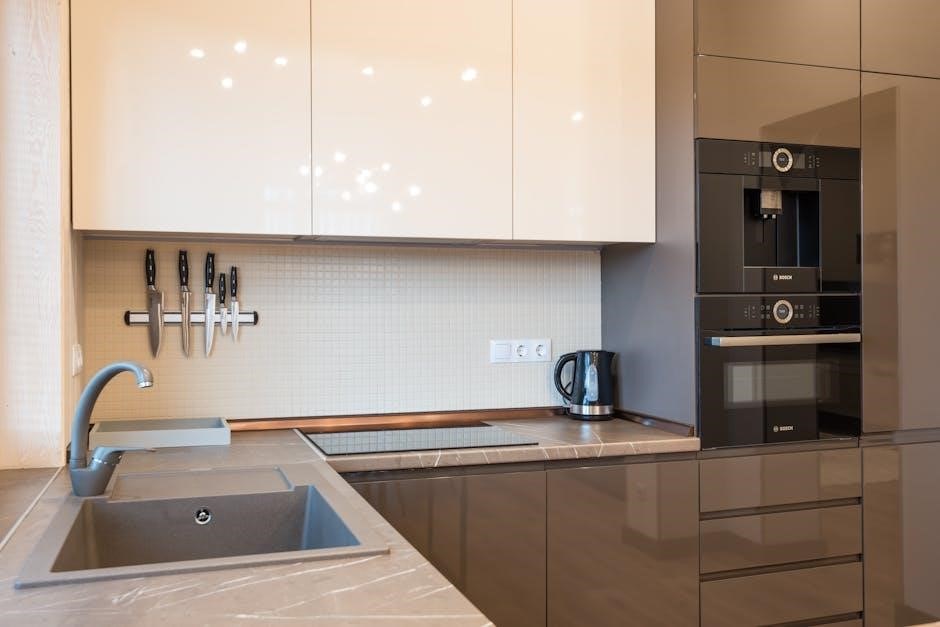
Cleaning the Oven Exterior
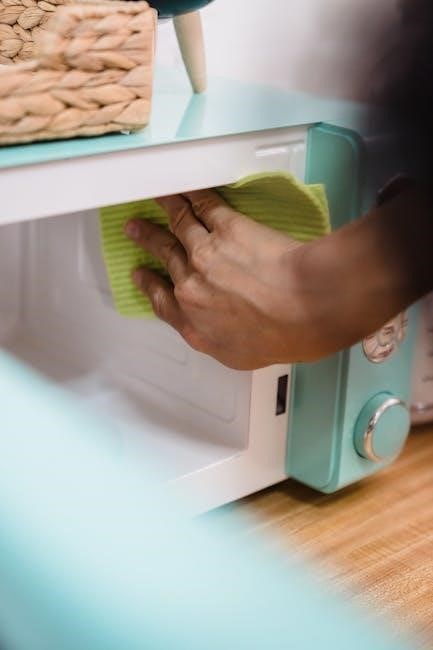
Cleaning the exterior of your GE self-cleaning electric oven is essential for maintaining its appearance and functionality. Start by mixing a mild detergent with warm water; Dip a soft, non-abrasive cloth into the solution, wring it thoroughly, and wipe the exterior surfaces, including the door and control panel; Avoid using harsh chemicals, abrasive cleaners, or scrubbers, as they may damage the finish. For tougher stains, lightly dampen the cloth with white vinegar, but avoid applying direct pressure. After cleaning, use a dry microfiber cloth to remove any moisture and prevent water spots. Regular exterior cleaning prevents grime buildup and keeps your oven looking new. Avoid cleaning the exterior during or immediately after a self-cleaning cycle, as the oven may be extremely hot. Always unplug the oven before performing any exterior maintenance to ensure safety.
Post-Cleaning Cleanup
After completing the self-cleaning cycle, allow the oven to cool completely before proceeding with post-cleaning tasks. Use a damp cloth to wipe down the oven racks and any surfaces, removing any remaining ash or residue. Avoid using abrasive cleaners or scrubbers, as they may damage the finish. For tougher spots, a mixture of equal parts water and white vinegar can be applied, but avoid using harsh chemicals. Once cleaned, rinse the racks thoroughly and dry them before replacing them in the oven. Regular post-cleaning maintenance ensures your GE oven remains in optimal condition. Always refer to your owner’s manual for specific recommendations on cleaning products and techniques. Proper post-cleaning care extends the life of your appliance and maintains its performance.
Troubleshooting Common Issues
Common issues with the GE self-cleaning oven include the oven not starting the cleaning cycle, error codes, or the door lock malfunctioning. If the oven fails to start, ensure it is properly plugged in and check for any blown fuses or tripped circuit breakers. If an error code appears, refer to the owner’s manual for specific troubleshooting steps. For door locking issues, allow the oven to cool completely before attempting to open it. If the problem persists, reset the oven by disconnecting power for 30 minutes. Avoid forcing the door open, as this can damage the locking mechanism. For persistent malfunctions, contact a certified GE technician. Regular maintenance, such as cleaning the exterior and ensuring proper ventilation, can help prevent many of these issues. Always follow the manufacturer’s guidelines for troubleshooting to ensure safety and optimal performance.
No Responses